Working with Sharepoint online and collaborating with Site Collections can be tricky if you have not administered Sharepoint Server previously.
Let me just give you a quick jump start on how to collaborate your Office Documents with external users.
Go to the Admin page of your Office 365 Online (portal.office.com/home) - it will read Office 365 Admin Center.
Expand the Admin link, right at the bottom of the left menu bar, and click "Sharepoint". This will land you on the Sharepoint Admin Center.
Click the Apps option on the left menu bar (as shown, circled, in below figure).

Select the Site Collection from the list on the right of the Admin page (list is the square box).
If you have not yet created a site collection, click the New button above the square box and create a new site collection.

Select the appropriate template from the tabs.
Set the time zone, an administrator and the storage size (above 110 MB) and click Ok.

Wait for a few seconds for the new site collection to get created and appear in the list as a hyperlink with a New callout.
Once the new site collection is created, browse to the url (copy/paste the link, if you can think of nothing else, on to a new browser window/tab).
Click the Site Contents link and in the subsequent, landing page, click Add an app...

In Apps to add, select Document Library, give your document library a name and click Create.
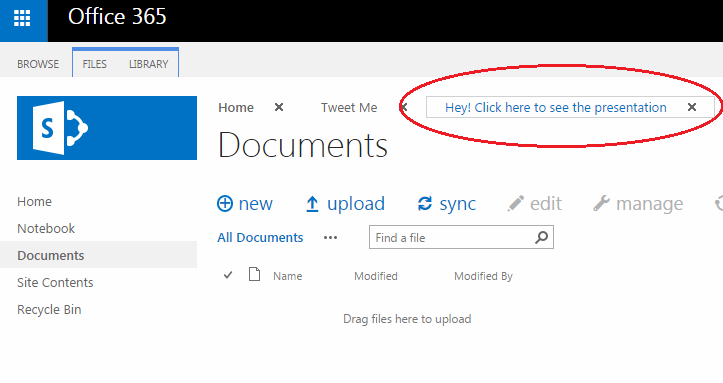
Your new document library will appear on the right. Click it to navigate it to the library.

Click the Distribute apps for Office box and upload any office document from your computer to this new document library.
Obviously, you have uploaded this document to share and collaborate with your team or colleagues or management plus you may also want to access it from home for which you may not have access to the company's Private Site Collection (unless it is a public site), so how to share it?
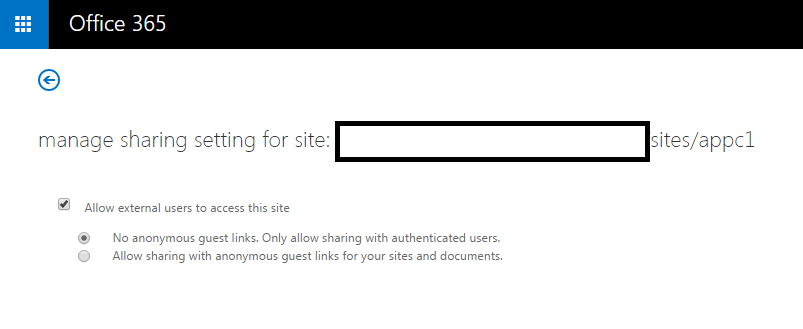
By default, in Sharepoint Online, the Everybody user group means everybody in the authenticated users of the Sharepoint site except external users.

To overcome this restriction, you can give access to your site itself (Of course, you may need to be careful with the contents that you do not want to share.).
A Sharepoint site is quite simply part of a site collection that has a name.
Browse to your sharepoint url - https://.sharepoint.com with a /sites/ and the site name and click Share your site and enter the email id.
Now, your site has been shared via email to an external user but what about the document?

And voila!

There is another disarmingly simple way to share through the Office 365 Admin Center's External Sharing menu option but that is for the techno-savvy Sharepoint administrators. For the normal user, the above steps serve better.
No comments:
Post a Comment